The Homeowner’s Checklist for Preparing Your House Before Interior Painting
A fresh coat of paint can completely change the look and feel of your home’s interior. But before the first brushstroke, the most important step is preparation. Proper prep ensures your painter can deliver a smooth, professional finish that lasts—while protecting your home and belongings in the process.
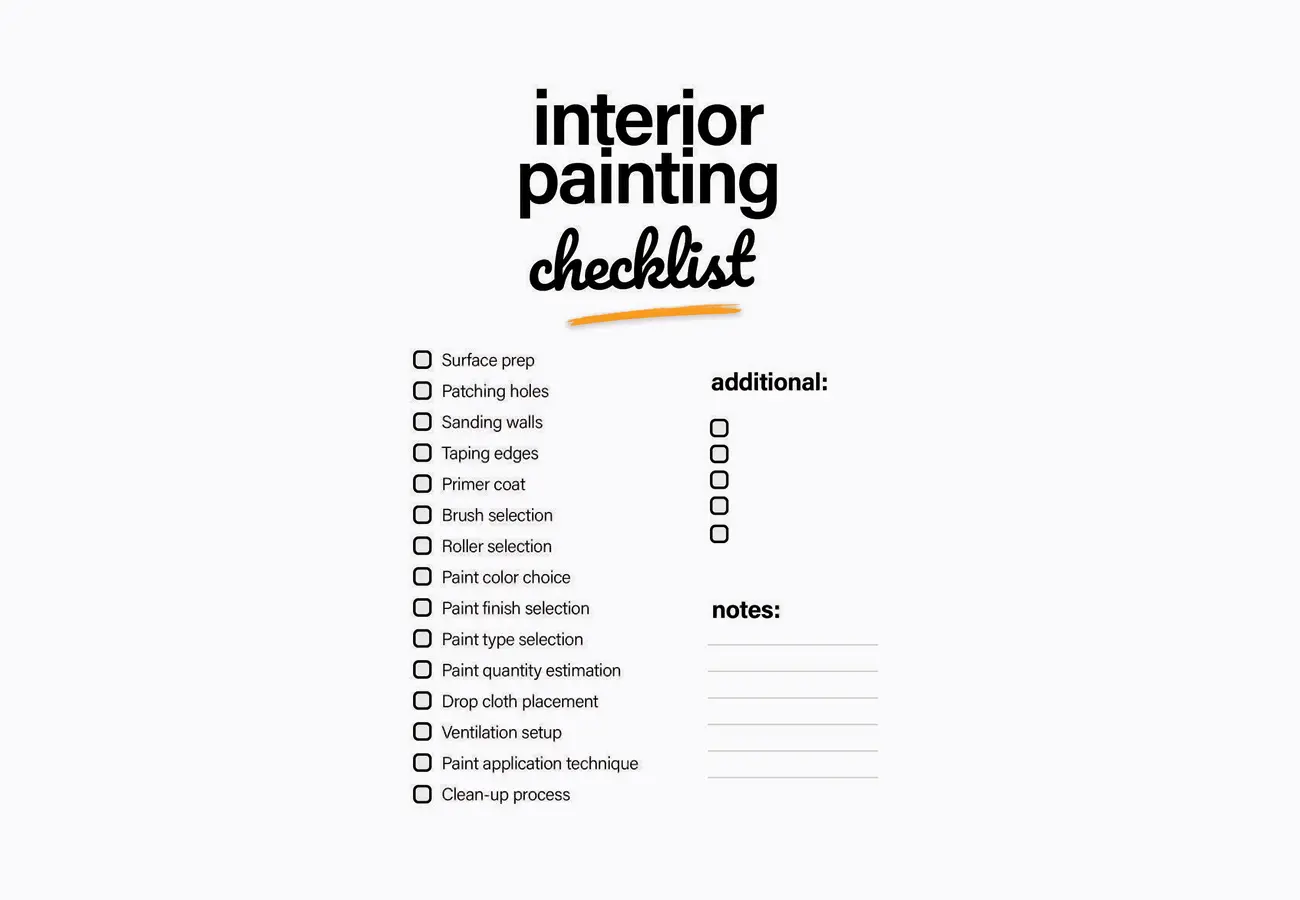
In this guide, we’ll walk you through a simple checklist to get your home ready for interior painting. Whether you’re tackling one room or the entire house, these steps will save time, reduce stress, and help you get the best results.
Clear the Space and Protect Belongings
Creating a clear, accessible work area makes the painting process more efficient and reduces the risk of accidental damage.
- Move furniture away from walls or out of the room entirely. If large pieces can’t be removed, move them to the center of the room.
- Cover items with high-quality drop cloths or plastic sheeting to shield them from paint splatter and dust.
- Remove fragile décor and electronics so they’re safe during the project.
A clean, clutter-free room not only speeds up the work but also ensures your painter can focus entirely on delivering a flawless finish.
Clean and Prep the Surfaces
Even the highest-quality paint can fail if the surface isn’t clean and smooth. Prepping the walls and trim will help paint adhere properly and look its best.
- Dust and wash walls, baseboards, and trim to remove dirt, oils, and debris.
- Repair imperfections such as nail holes, dents, and cracks with spackle or filler.
- Lightly sand glossy surfaces to create a better bonding surface for the paint, then wipe down any sanding dust.
This step is crucial for avoiding peeling, bubbling, or uneven texture in your finished paint job.
Mask and Protect Fixed Features
Careful masking helps ensure sharp, clean lines and prevents paint from getting where it doesn’t belong.
- Use painter’s tape to protect baseboards, window frames, and door casings.
- Cover floors with drop cloths—opt for canvas to prevent slipping.
- Remove outlet and switch covers so the paint can reach all areas without messy edges.
Attention to detail here makes a huge difference in the final result.
Ensure Proper Lighting and Ventilation
Good lighting allows painters to see imperfections before and during painting, while ventilation keeps the air fresh and helps paint dry evenly.
- Check natural light levels and supplement with temporary lighting if needed.
- Ensure airflow by opening windows or using fans when possible.
- Use appropriate ventilation especially when using oil-based paints or primers.
This simple step improves both the quality of the paint job and comfort during the project.
Communicate with Your Painter
Clear communication is key to a successful project and helps avoid misunderstandings.
- Discuss expectations for colors, finishes, and timelines before work begins.
- Share any concerns about fragile surfaces, furniture, or scheduling needs.
- Ask questions—a professional painter will appreciate your interest and input.
When you and your painter are on the same page, the process runs smoother and the results meet your expectations.
Conclusion – Set the Stage for a Flawless Finish
Preparation isn’t the most glamorous part of interior painting, but it’s the foundation for exceptional results. Clearing the space, cleaning surfaces, masking carefully, ensuring proper lighting, and maintaining open communication all help ensure your project is stress-free and your new paint job looks beautiful for years.
If you want a team that handles both the prep and the painting with the same attention to detail, OKCity Painting is here to help. We bring professionalism, clear communication, and premium craftsmanship to every project.
Ready to refresh your home’s interior? Contact us for a free consultation and let’s bring your vision to life.